| ⭅ Previous (Planning a pocket computer) |
Prototype (first build)
We’ve recently built a prototype version of the hardware, and sent electrical designs for manufacturing. In this article we’ll talk about the electrical prototype, and our plans for the initial polished version.
Prototyping with a devboard.
For the initial prototype, I used a readily available dev-board with a microcontroller from ST. This allowed quick testing of the hardware, without a lengthy design -> manufacture -> wait cycle.
Not only is this convenient for development, it should also make this platform more accessible. If people want to follow along and build their own devices in a similar fashion, they will be able to follow along with this post and designs / schematics that we will be contributing to open source.
A first attempt: STM 32 Nucleo F031K6
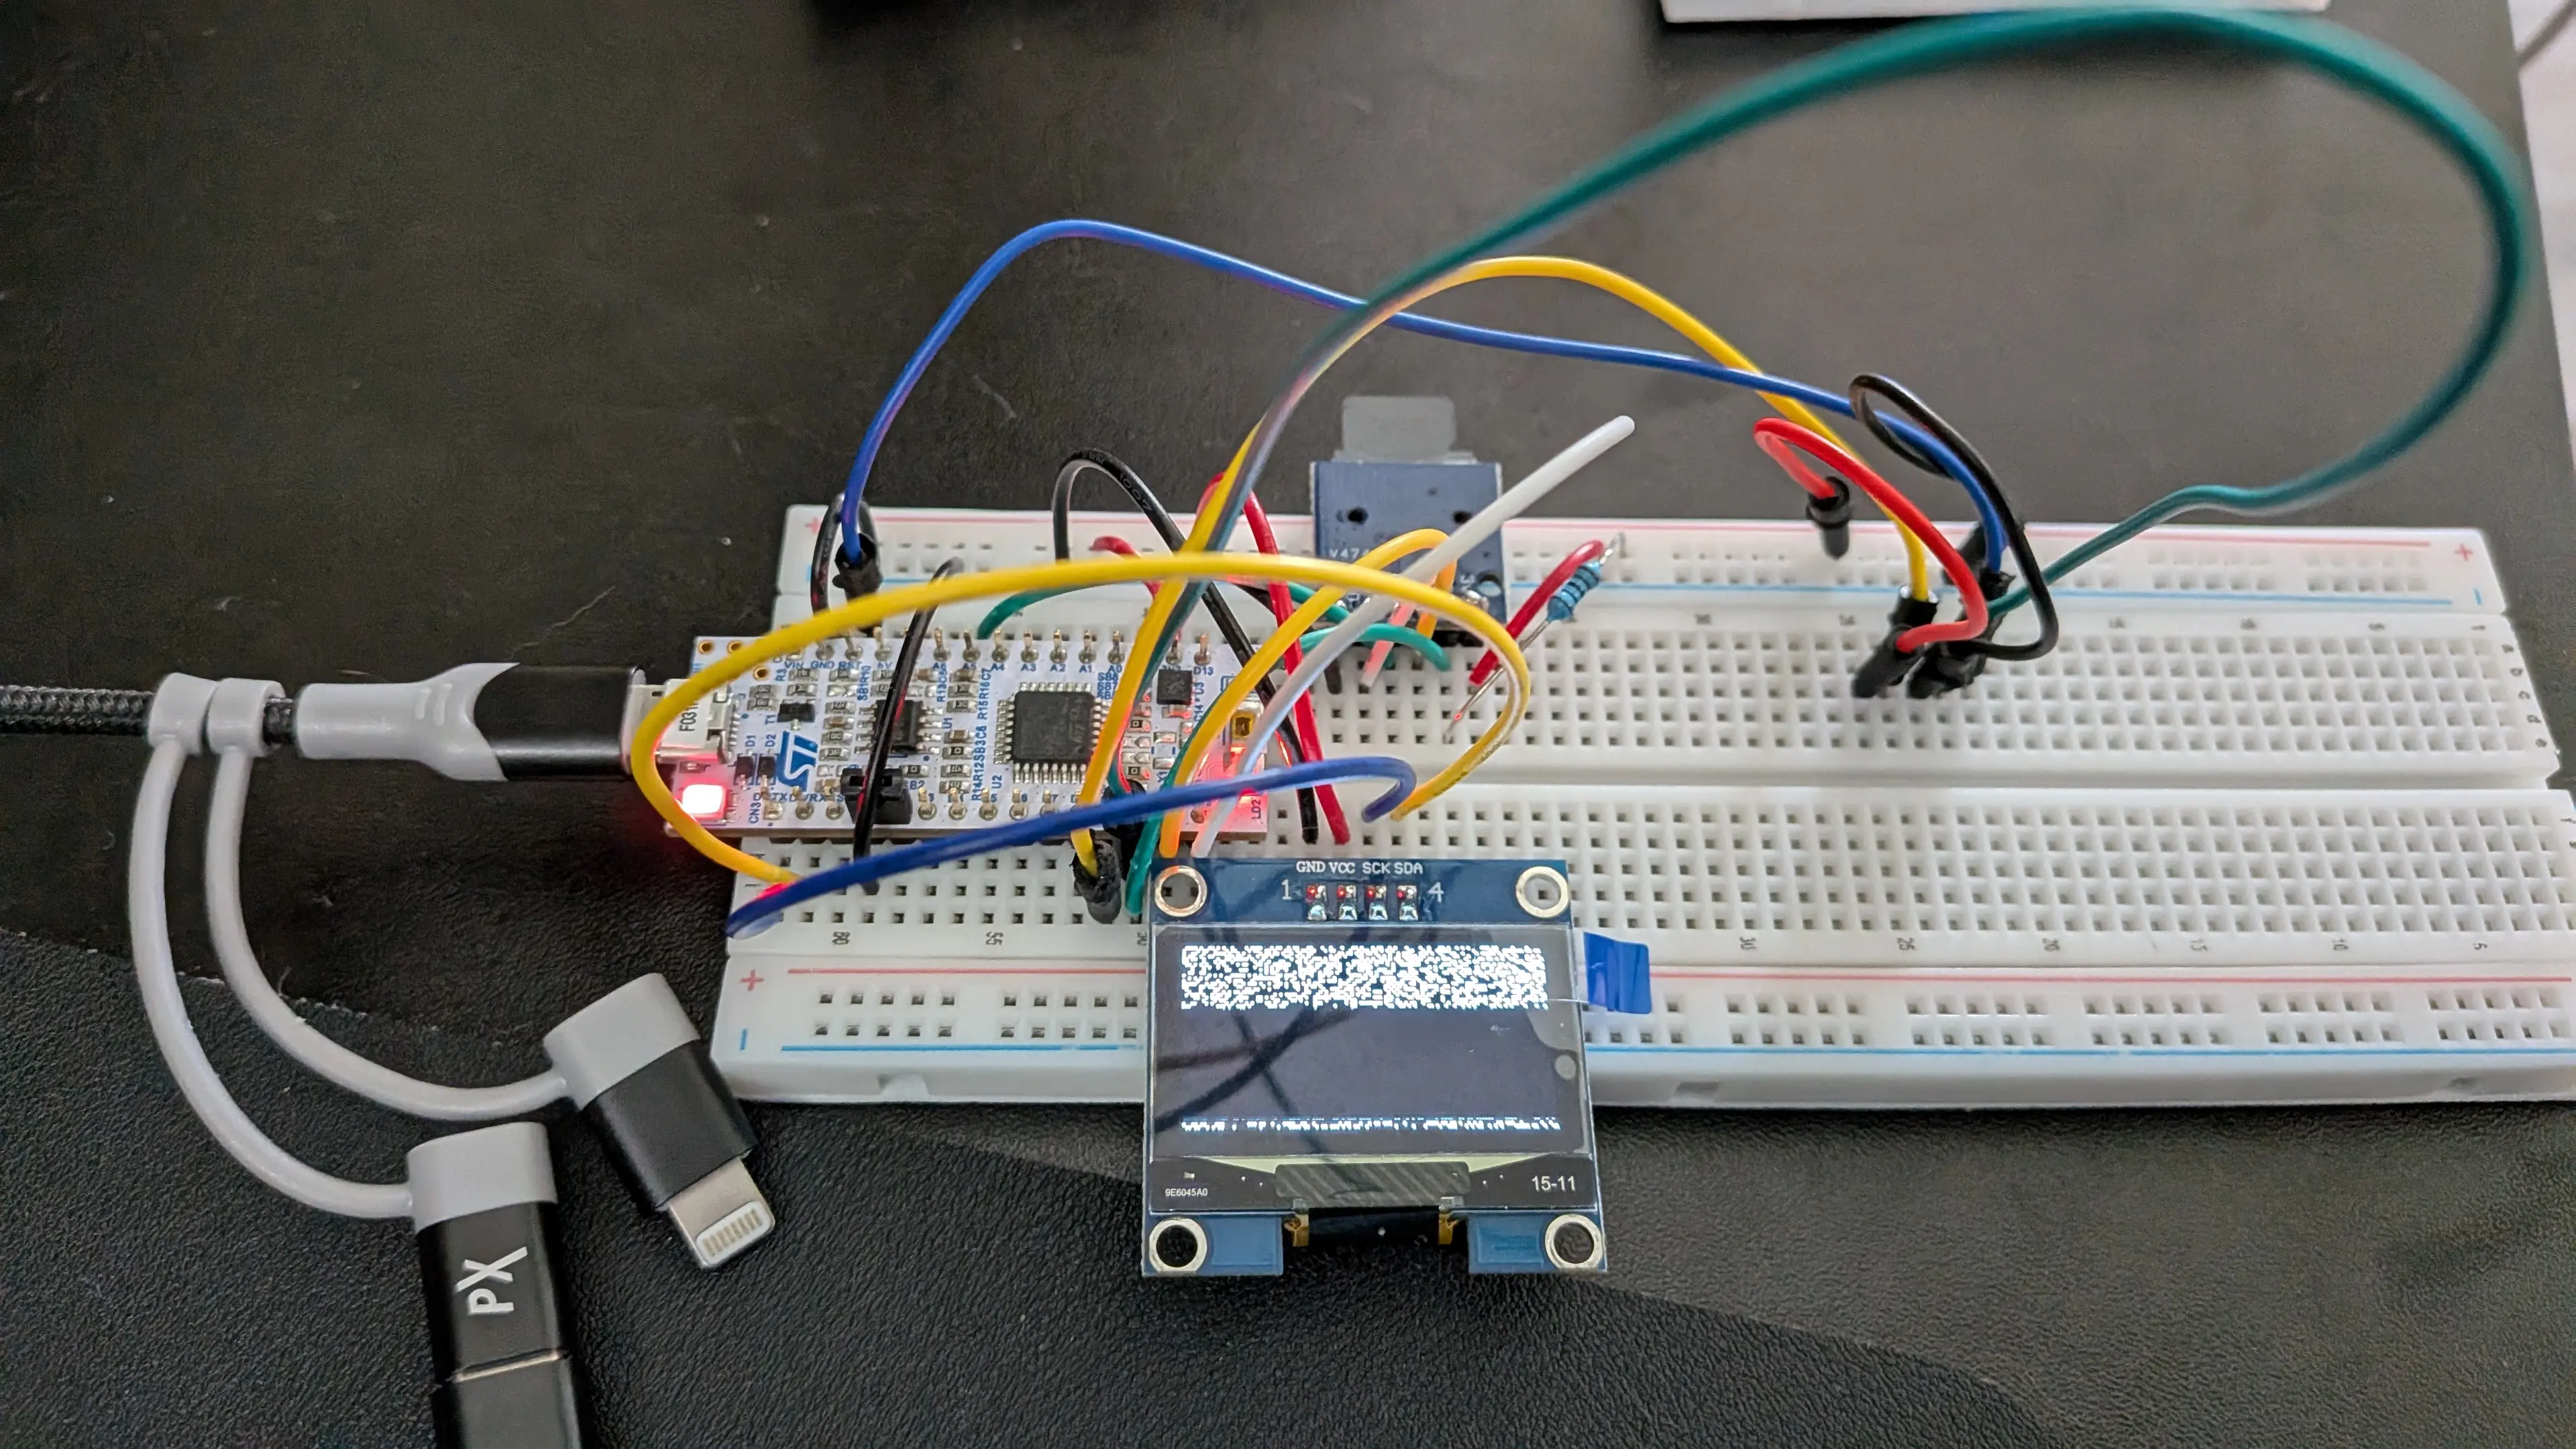
For our first prototype, we used an STM32 Nucleo F031k6 devboard which we had laying around. This was effective for testing out the main peripherals we want to incorporate:
- An ST microcontroller. The F031k6 board has an ARM Cortex-M0 (32 bit) running at 48Mhz.
- A monochrome 128x64 LCD display
- A microSD card, for storage and loading other applications.
The LCD operates using I2C, a nice simple protocol that requires only two wires for data. Most microcontrollers, including this one, have controller peripherals built in. This means interfacing with an I2C device is abstracted to the data transfer, rather than the state of signals over these wires. One wire(SDA) is the data, and the other(SCL) is the clock.
After we were able to initialize and power on the display, we were confident enough that it could be made to work. So on to the next peripheral.
While we were able to test out the display, we ran into difficulties with the micro SD. This microcontroller doesn’t have built in hardware for interacting with the microSD peripheral. We were surprised to learn that micro SD supports a fallback protocol over SPI.
While we could have implemented SD over SPI, this would have resulted in significant extra complexity in software, with a result of slow transfers. SD over SPI essentially transfers one bit per clock, versus the SD connector which features four data lanes (dat0 - dat3) to transfer multiple bits per cycle. And now the SD complexity can be deligated to the hardware.
Attempt 2: The “Black pill” devboard.
After a bit of research, I settled on the “black pill” dev board. This is an unofficial devboard which features a much more capable STM chip. It is very popular, and clones of this dev board are widely available.
Compared with our earlier board, it seems to meet our requirements:
| What \ Attempt | Initial | Attempt 2 |
|---|---|---|
| Core | Cortex M0 | Cortex M4 (with FPU) |
| Core Frequency | 48 MHz | 100 MHz |
| Flash(program storage) | 32K | 512K |
| SRAM | 4K | 128K |
| Peripherals: | ||
| I2C (for display) | yes | yes |
| SPI (SD fallback) | yes | yes |
| SD | no | yes |
Switching microcontroller lines means rewriting the code to configure the peripheral controllers inside the device. Fortunately, I’ve been using Rust for the prototype, and the stm32-hal traits mean very little has to change when moving from stm32f0xx-hal (for the Nucleo’s STM32f031) and stm32f4xx-hal (for the black-pill’s F411).
Benchmarking / Driving the Panel at 60pfs
Before we can conclude that this board is sufficient, we’d like to confirm that this cpu+panel is fast enough for our needs.
Our initial benchmark is to update the panel at 60 frames per second, which is the typical refresh rate of a computer monitor. But it is interesting to note that Hollywood movies are typically filmed and recorded at 24 FPS, so lower refresh rates can also look fine.
The LCD panel receives pixels over I2C in chunks, from top to bottom and left to right. An entire chunk needs to be drawn, but the entire screen doesn’t need to be updated at once. This provides an opportunity for fast partial refreshes.
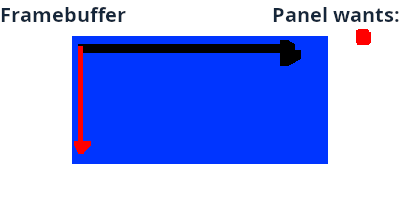
But to start with, we’d like to fully refresh the screen at 60 fps. We wrote a simple graphical demo, which will loop and give us an easy way to see when it completes. By recording the animation, we should be able to precisely time how long it takes to complete the demo, and then calculate backwards to find our refresh rate.
The demo we came up with was a bouncing vertical bar, which moves one pixel each time it updates. With a display width of 128 pixels, it should take 128 frames to go from one side of the screen to the other.
Our first approach natively stored the image/framebuffer row-major. When writing to the display, we needed to re-pack bits from rows into the columns expected by the display. After we built up the pixels for one chunk, they’d be written to the panel.
This approach took about 6.5 seconds for the bar to reach the other side of the screen. 128 pixels=frames / 6.5 => ~19.7 frames per second.
But was this software being slow, or a hardware limitation of the peripheral?
We’re sending pixels at a time over I2C. Our I2C controller in the microcontroller(MCU) should be able to run at the same speed as the main system clock of 100 MHz. So it should be able to transfer about 1 M bits per second. With a panel holding 128x64 pixels, this gives us about 12k FPS, ignoring other overheads in the protocol.
So it seems to be software slowness. We modified our framebuffer to instead hold images column major, so no computation would be required to produce the column data required by the panel. After this, and a few other minor optimizations, the animation was able to complete in 2 seconds, giving us 64 FPS.
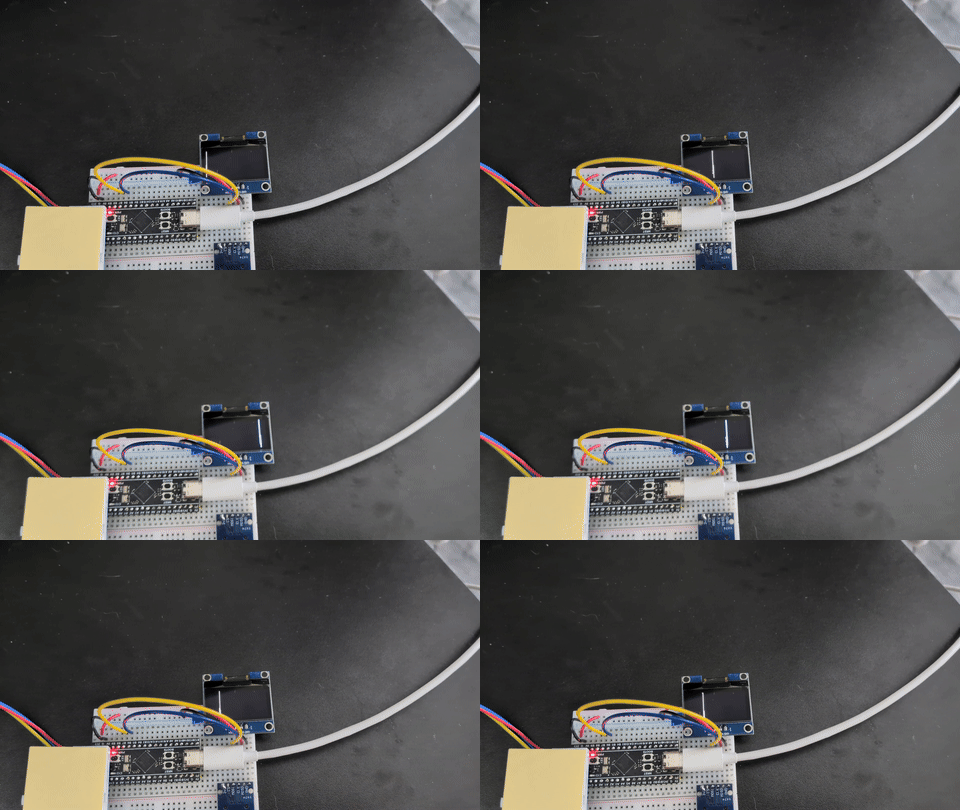
There is plenty of room for further optimizations, but we’ve confirmed that it is possible for high speed animations with this hardware combination.
Next up: simulations & app development.
Thats about it for prototyping. We’ve created a more polished design after this prototype, and sent that for production. In the next article, while we wait for our boards to be manufactured, we’ll talk more about our app development interface and how we plan to enable apps to run on device, on your desktop, and in the browser.
| ⭅ Previous (Planning a pocket computer) |